
We are hammering away at our skip counting sequences at the moment. So when my husband went fishing a couple of weekends ago, I found it the perfect opportunity to make a couple of skip counting activities for the classroom, using my favorite math manipulative- milk bottle tops!
To begin with, I took an A3 sheet of colored paper and traced around a bottle top multiple times, to create one long, windy snake. I filled it in with permanent marker and drew on a head and snaky tongue. I then wrote the skip counting in fives sequence that I wanted to re-inforce on each body segment. This took a surprisingly long time, so I was on the hunt for a quicker way.
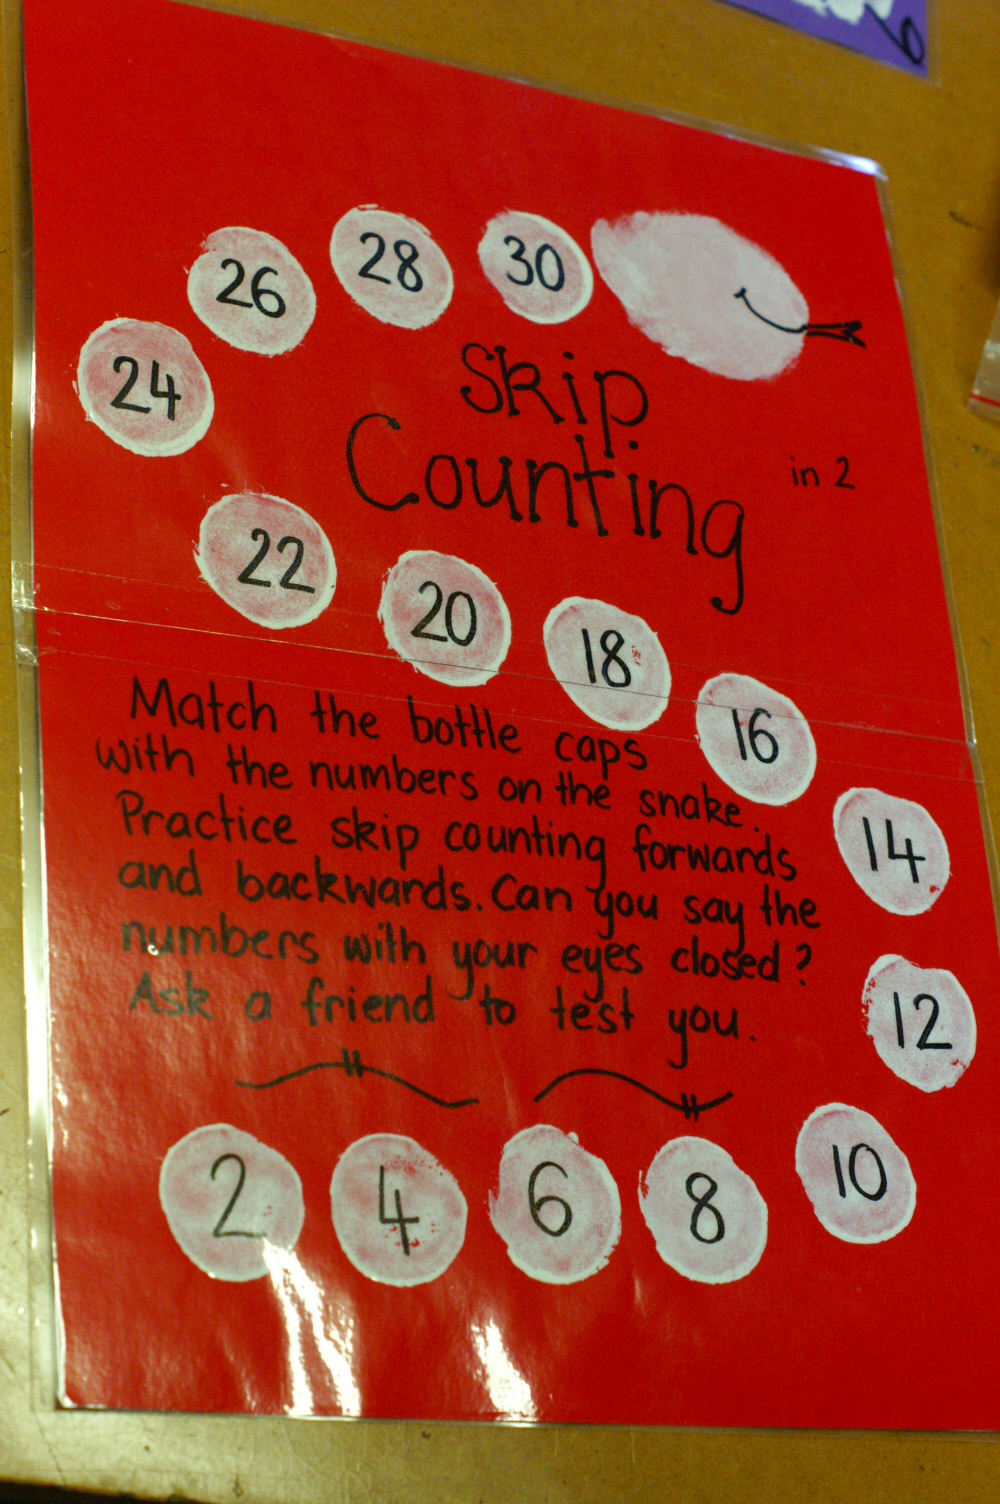
 So I cut some chux cloth and glue it onto the back of a milk bottle cap, creating a simple stamp. I then chose white paint to stamp my second snake, to create a skip counting sequence in twos.
 By the time I finished the second snake, I was totally sick of serpents. So my final game is a flowering vine, with petals stamped with my thumbprints to create a skip counting sequence in tens.
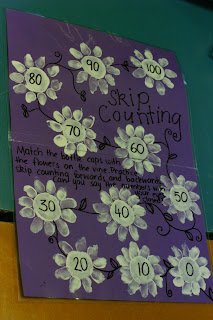 The objective is for the children to match the numbers on the bottle caps with the numbers on the game. They then need to recite the numbers forwards and backwards to re-enforce the sequence. I did it this way to ensure that the sequence the children were practicing was completed correctly before verbalizing the sequence- no point in re-enforcing something that is wrong!

This is a very simple activity that could be done independently or in pairs. An alternative would be to leave some spaces blank, for the children to fill in with bottle caps. I would provide an answer sheet so they could check they got the sequence right before continuing.
The boards have been bundled up into plastic baggies and added to our skip counting tub in our Math rotation/ tumble board.
To begin with, I took an A3 sheet of colored paper and traced around a bottle top multiple times, to create one long, windy snake. I filled it in with permanent marker and drew on a head and snaky tongue. I then wrote the skip counting in fives sequence that I wanted to re-inforce on each body segment. This took a surprisingly long time, so I was on the hunt for a quicker way.


This is a very simple activity that could be done independently or in pairs. An alternative would be to leave some spaces blank, for the children to fill in with bottle caps. I would provide an answer sheet so they could check they got the sequence right before continuing.
The boards have been bundled up into plastic baggies and added to our skip counting tub in our Math rotation/ tumble board.
Comments
Post a Comment